- Join the next free webinar on 25th of April, 17:00-18:00 CET
Improve your Product Backlog with Story Mapping and ScrumTale

Apply empiricism to teaching Scrum
October 16, 2019
Invest in people skills or forget about effective development teams
November 7, 2019Improve your Product Backlog with Story Mapping and ScrumTale
Product Backlog is one of the most important artefacts in Scrum. It provides alignment so much needed for the development team to build a successful product. However, if you won’t give your backlog a proper structure and engage the whole team in building it, then people building the product will lose the the purpose and context of their work.
Flat Product Backlog
Product Backlog should be the single source of truth when it comes to what needs to be done and in what order. The idea is simple: you build a list all the User Stories and order them depending on business value — the higher a Product Backlog Item (PBI) on the list, the higher its priority is.
When you are building a new system, you will have to prioritize your requirements, for example: what is more important — searching or logging? Adding products or accepting payments? Eventually, the development team will be implementing pieces of those functionalities in parallel to deliver MVP (Minimal Viable Product) and to maximise business outcomes with minimal output.
The clash
After a few weeks of work you realise (or not) that everyone is focused on a piece of functionality that they are building and become obsessed with technical details. While the developers dig deeper and deeper into the problems they are trying to solve, PM is trying to figure out the overall project progress by looking on task board. Which, by the way is impossible, because the whole backlog is fragmented and no one can figure out which tasks have to be completed to deliver a complete feature that will be valuable for the customer.
This is when you notice the biggest malfunction of the one-dimensional Product Backlog:
The development team lost wider picture of their work and business purpose of the product.
The development team jumped right into technical aspects of the tasks and the customer needs vanished. No one is able to see the wider picture to make sure that the team is building the right product.
If you won’t realize on time that your team lost their way, you may end up with a frankenstein product — some features are over complicated while some basic functionalities are still missing. Such products lack integrity, usually have poor User Experience and cumbersome User Interface that people will hate.
Two-dimensional backlog
Among the people who noticed this problem, Jeff Patton’s work is probably most recognizable. In his book: “User Story Mapping: Discover the Whole Story, Build the Right Product”, Jeff introduces a technique called Story Mapping. You start by writing down activities and interactions that the users will have with the system. Then you describe system functionalities that will fulfill the needs of the users and you put them underneath the User Activities. This is how you create a two-dimensional backlog that will link system features with a business purpose. Next step is to create rows to slice the functionalities into smaller product releases. Read more about it on Jeff’s Blog.

Story Mapping – Jeff Patton & Associates
Story Mapping helps to organise your backlog, prioritize, and slice out most valuable features. But Story Mapping is more than just a technique for improving requirements management. First and foremost, telling a story behind the product builds shared understanding across the development team. This allows designers, programmers and everyone involved in creating of the product, to better understand who they are building the software for and what the users want to achieve with the product. Story Mapping helps to keep customer focus throughout the whole product development phase that is why it helps to build the right set of features and design interactions in a way the customer wants.
Learn Story Mapping with ScrumTale workshop
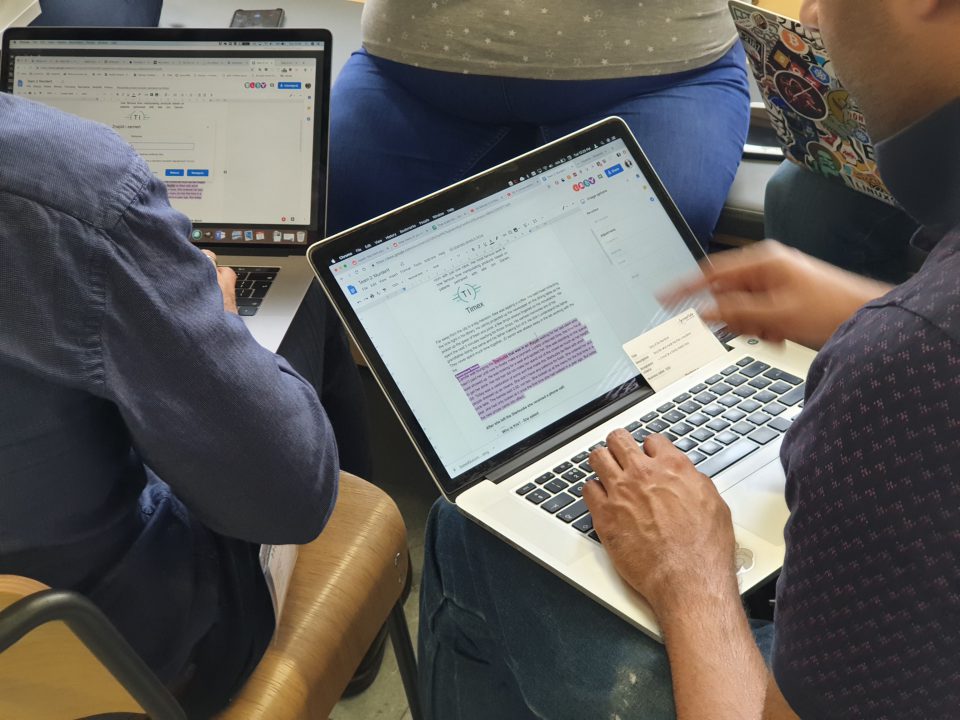
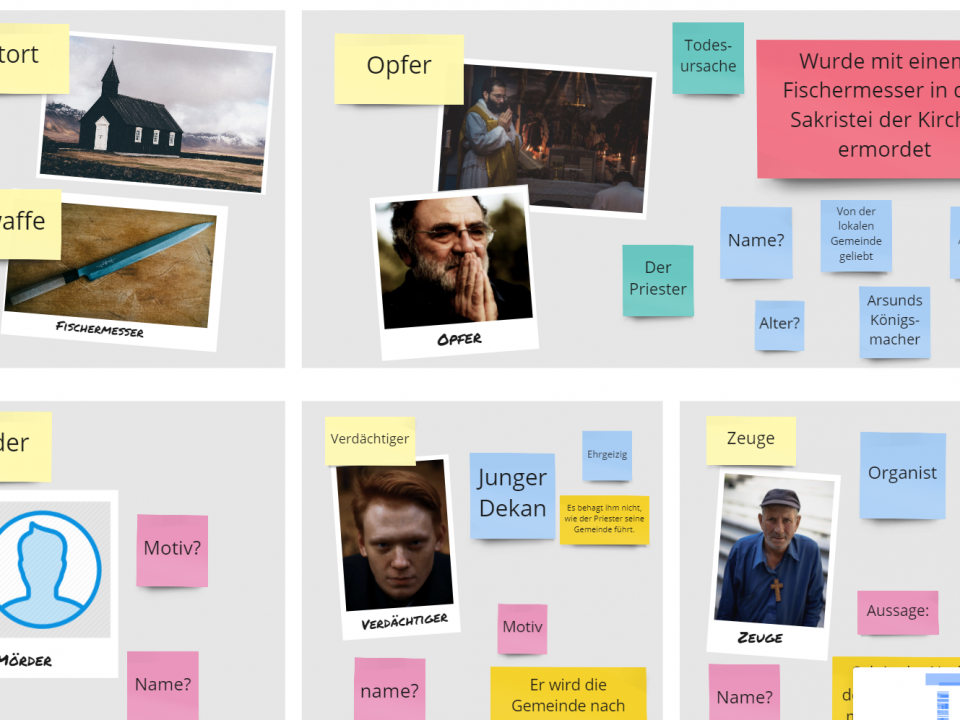
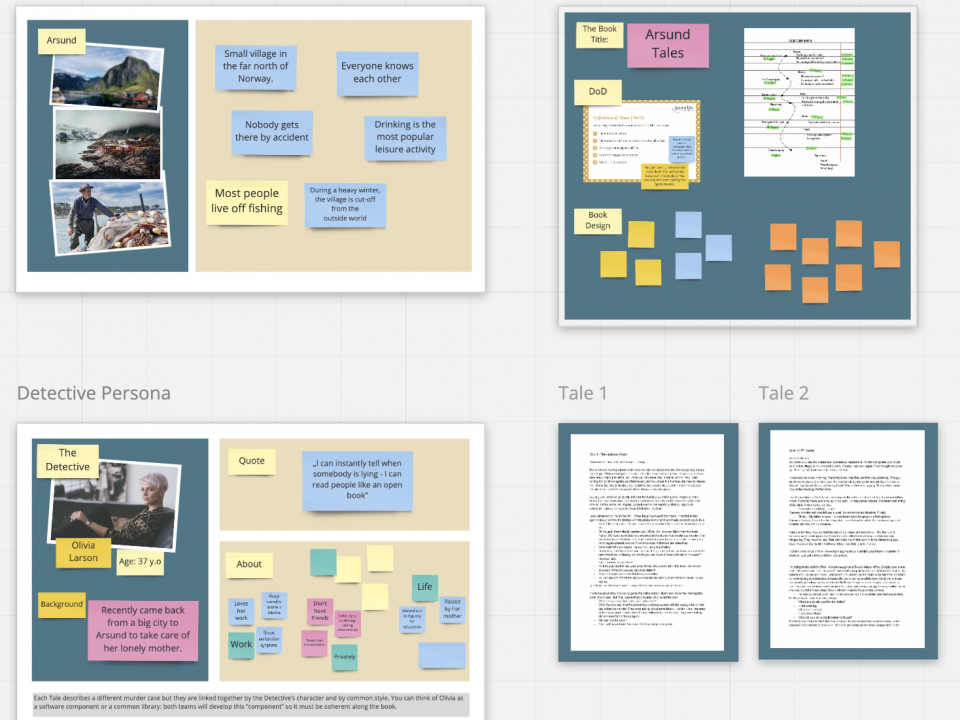
A great way to begin with Story Mapping technique is a workshop based on ScrumTale simulation game. In this exercise, a group of people (5–17) are writing a detective story collaboratively, using Google Docs. Although ScrumTale has initially been designed to teach Scrum, you can extend the gameplay to focus more on the backlog creation activity.
Story Mapping workshop with ScrumTale simulation game
The Story Mapping exercise with ScrumTale looks like this:
- Define proto-persona — who are you writing the story for? This will help the team to build a common narrative style
- Write down non-technical requirements — language, font, narrative style
- Product owner tells a high-level story laying down main events and characters
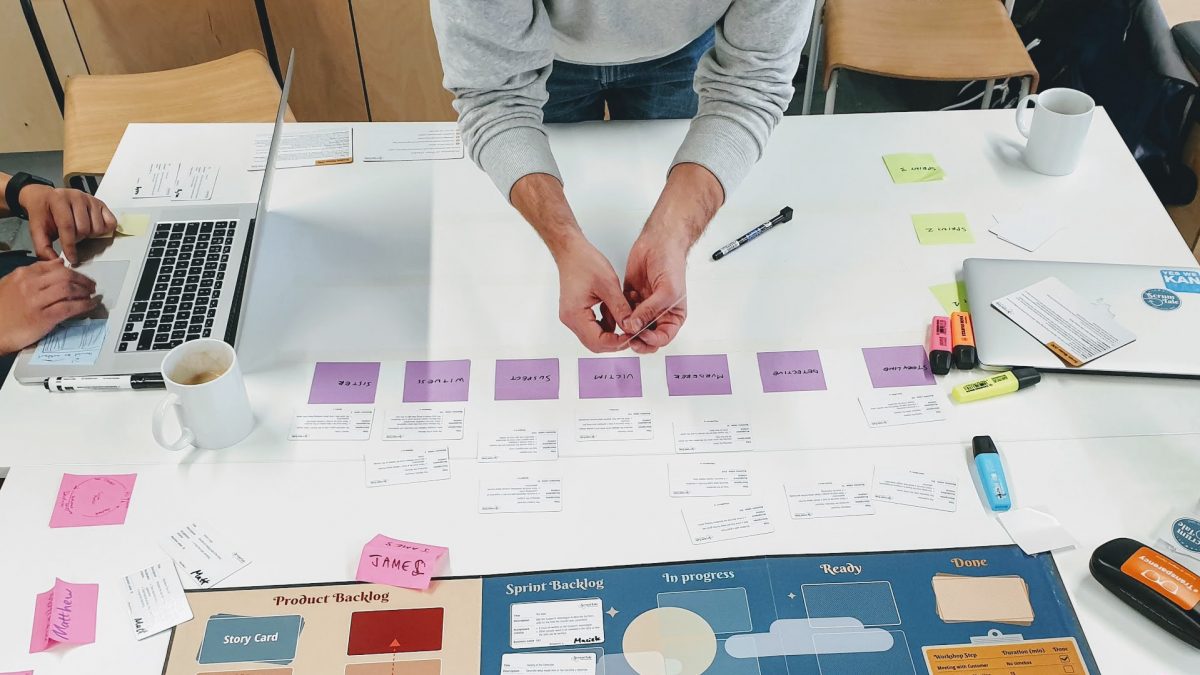
- Development Team creates story backbone — main story characters and events are noted down on sticky notes and lined up chronologically
- Using painting tape, create a column for the activities
- Assign Story Cards to the columns under the sticky notes to create body of the story
- Prioritize stories — bubble-up most important stories to the top of the column
- Take the painting tape again and create 2 rows, reflecting MVP scope and post-MVP
- Assign stories into each of them
- Move stories into the sprint backlog on the board
- Revisit your plans and update the map with your learnings after first sprint
What’s next?
Once the team gets the concept, you have to transfer Story Mapping technique to your workspace. First thing is to decide whether you want to use analogue or digital board.
Analog board that you create with some sticky notes and a whiteboard is a fantastic low-tech, high-touch tool. It’s engaging, gives a great visibility across the whole picture and can be easily modified. The disadvantages of this solution are: troublesome tracking and updating of the tasks, especially when working with a distributed team.
If you decide to go digital, there are some great tools for that too. Probably the most popular one is Jira. Although there is no native support for Story Mapping, you can add an extension (like Easy Agile User Story Maps for Jira) that will help you to get the job done.
Personally, what I found most compelling is a Miro board. To me, it’s a sweet-spot: a digital board that gives you analogue-like experience and flexibility without the disadvantages that come with the analogue board. You can start with an analogue map that you create during the workshop and then transfer it to Miro that allows you to link tasks with Jira and digitalise not only the Story Map, but also other artifacts to create a Project Wall.
Good luck with mapping your way to a great product!


